How to take the best photos with the OnePlus 8 Pro
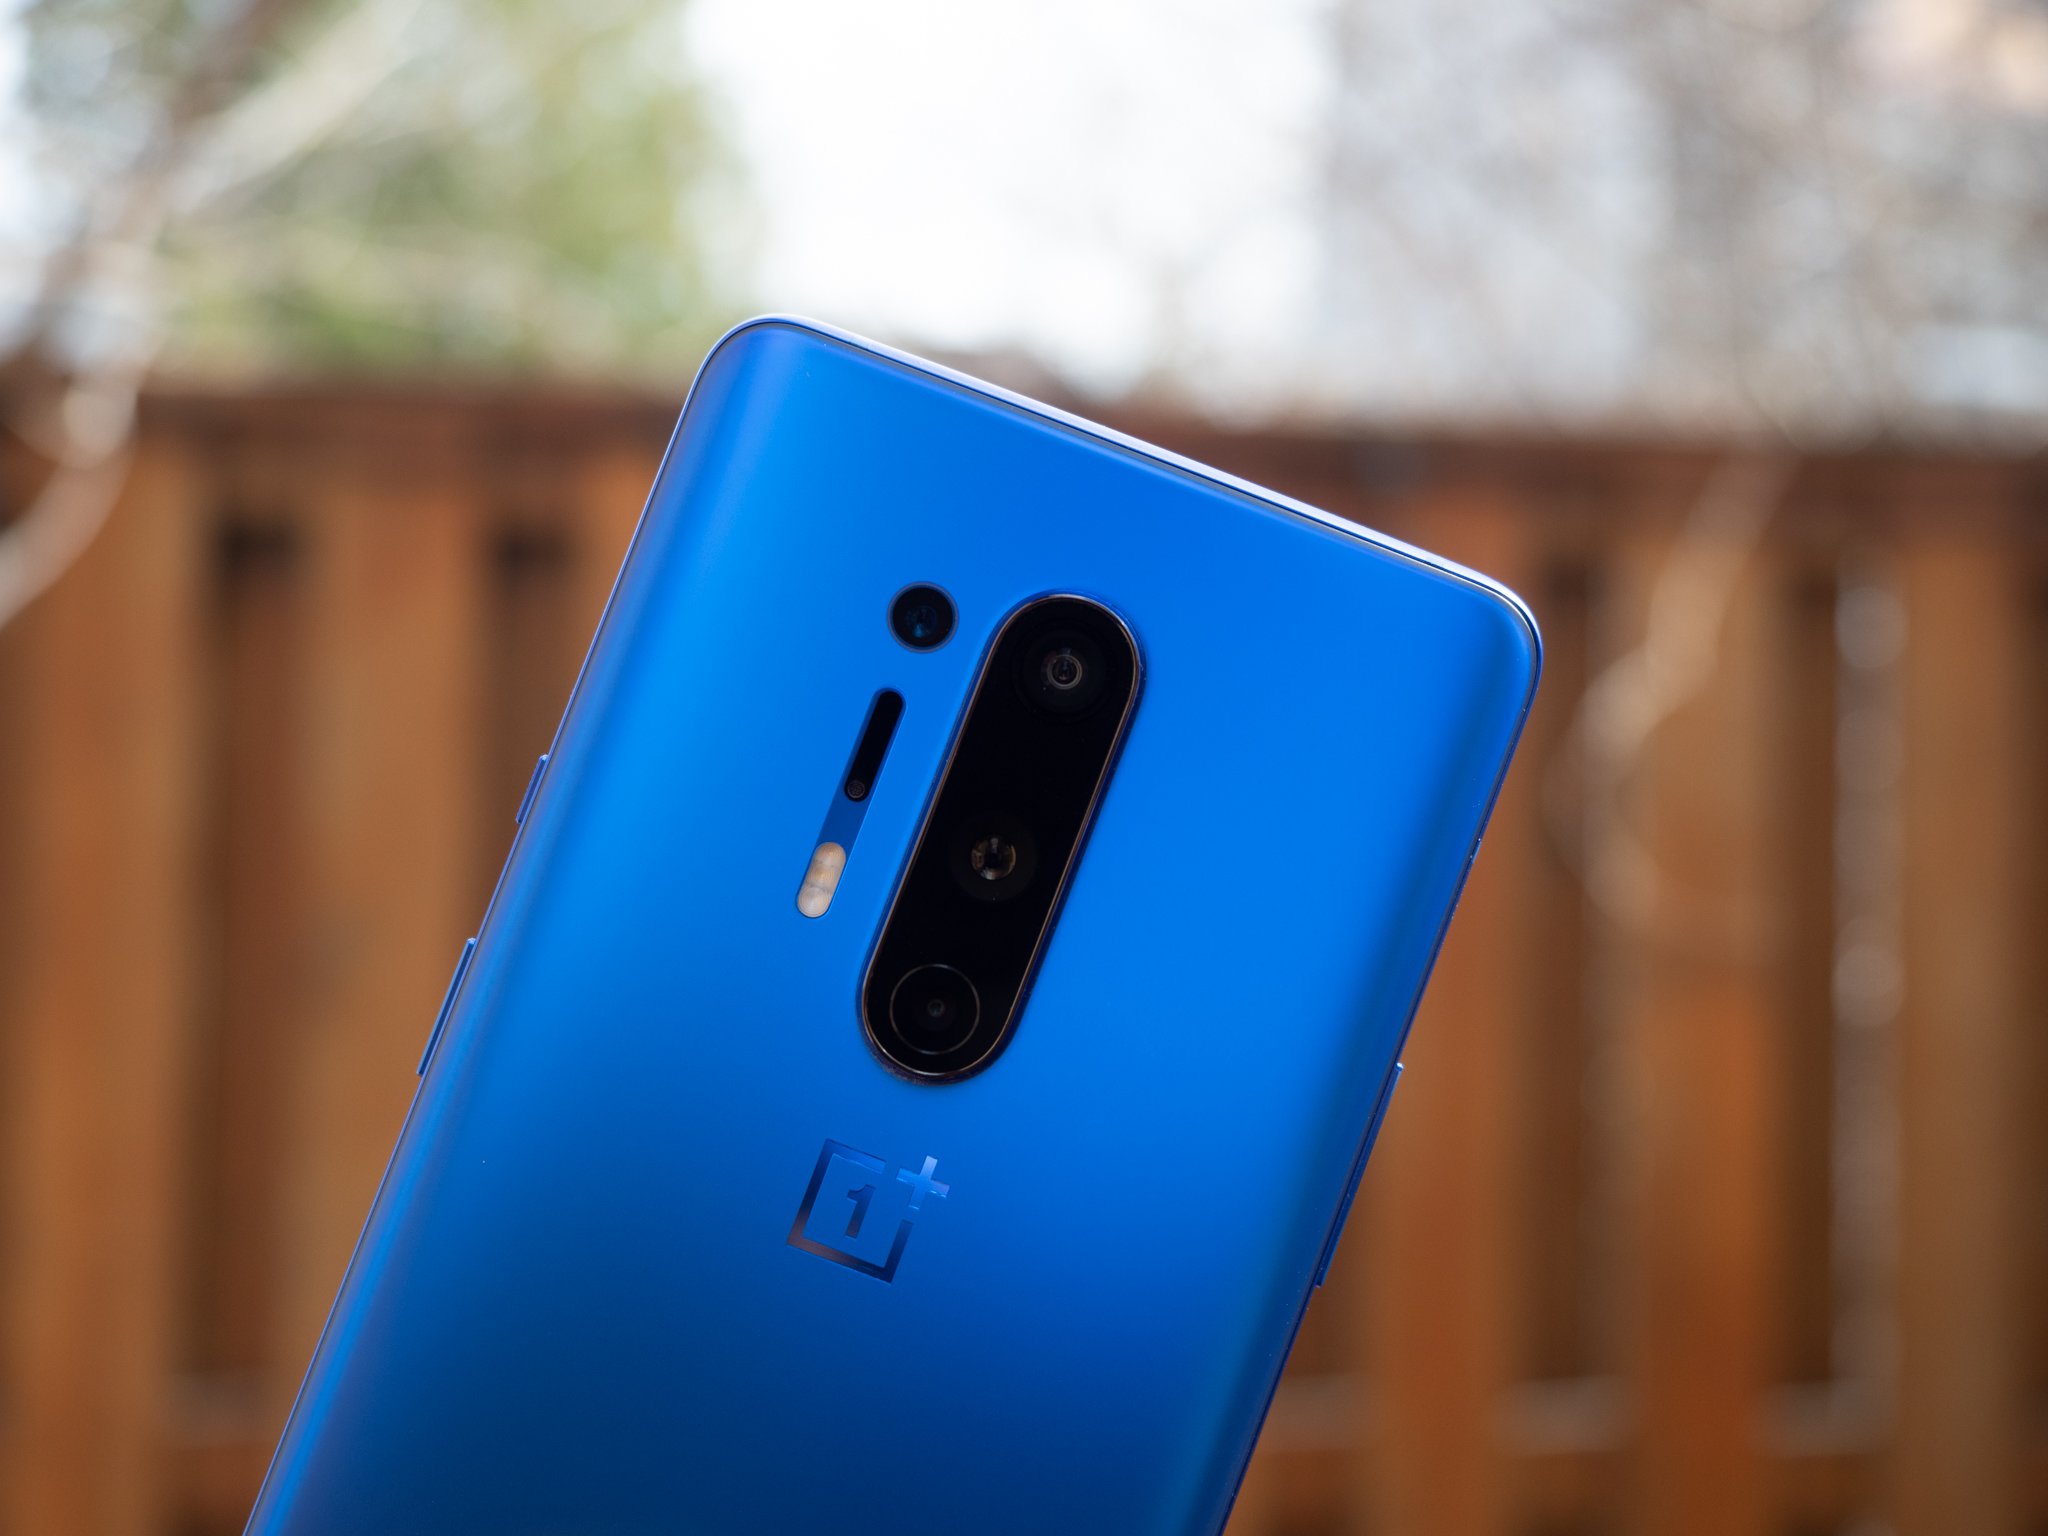
The OnePlus 8 Pro brings the best and most capable camera system OnePlus has ever put in a phone, thanks to a new primary sensor and improved processing. You still get a dedicated telephoto and ultra-wide camera, too, giving you extra shooting options to inject some variety into your photos. There are lots of tools and plenty of options at your disposal with the OnePlus 8 Pro's cameras. Here's how you can make the most of it all for the best photos.
Clean the damn camera lenses
This isn't specific to the OnePlus 8 Pro, but an important tip nonetheless: clean your camera lenses! As smartphones get to the point of having three or more lenses, there's a lot back there to accidentally touch and smudge up throughout your daily use of the phone.
Nothing else matters if your lenses are smudged up.
No matter what you do with your software, framing, and a steady hand, if your camera lens is dirty, it's all a waste of time. Be sure to regularly take a look at your camera lenses and give them a cleaning when possible. It doesn't have to be done with a dedicated lens cleaning cloth either — simply the end of your shirt or the edge of your pants pocket will get the job done. These lenses are designed to take the beating of everyday life being exposed to the elements.
This tip is doubly important for selfies, because there's no physical protection for the lens as you swipe around on the top of the screen — particularly if you play games in landscape. Be sure to give that top-left corner of the screen a good wipe before taking a selfie; it'll make a huge difference.
Turn on viewfinder grid lines
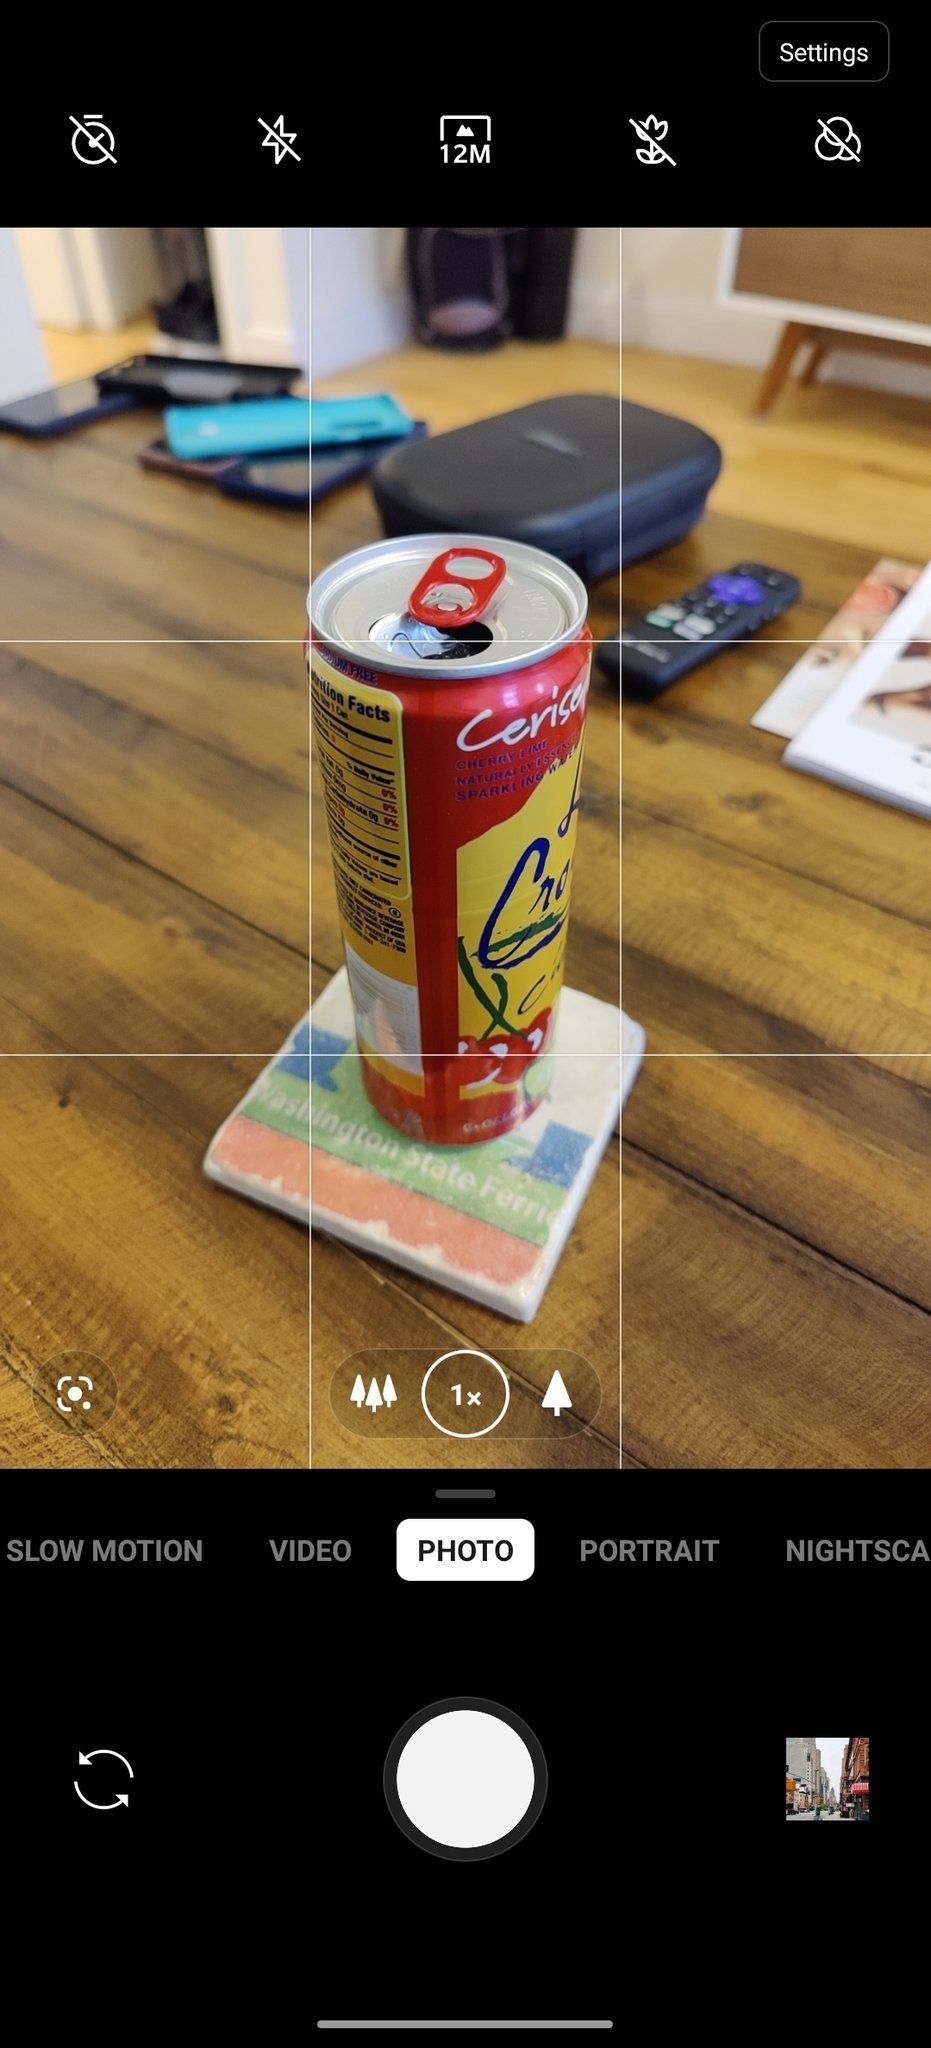
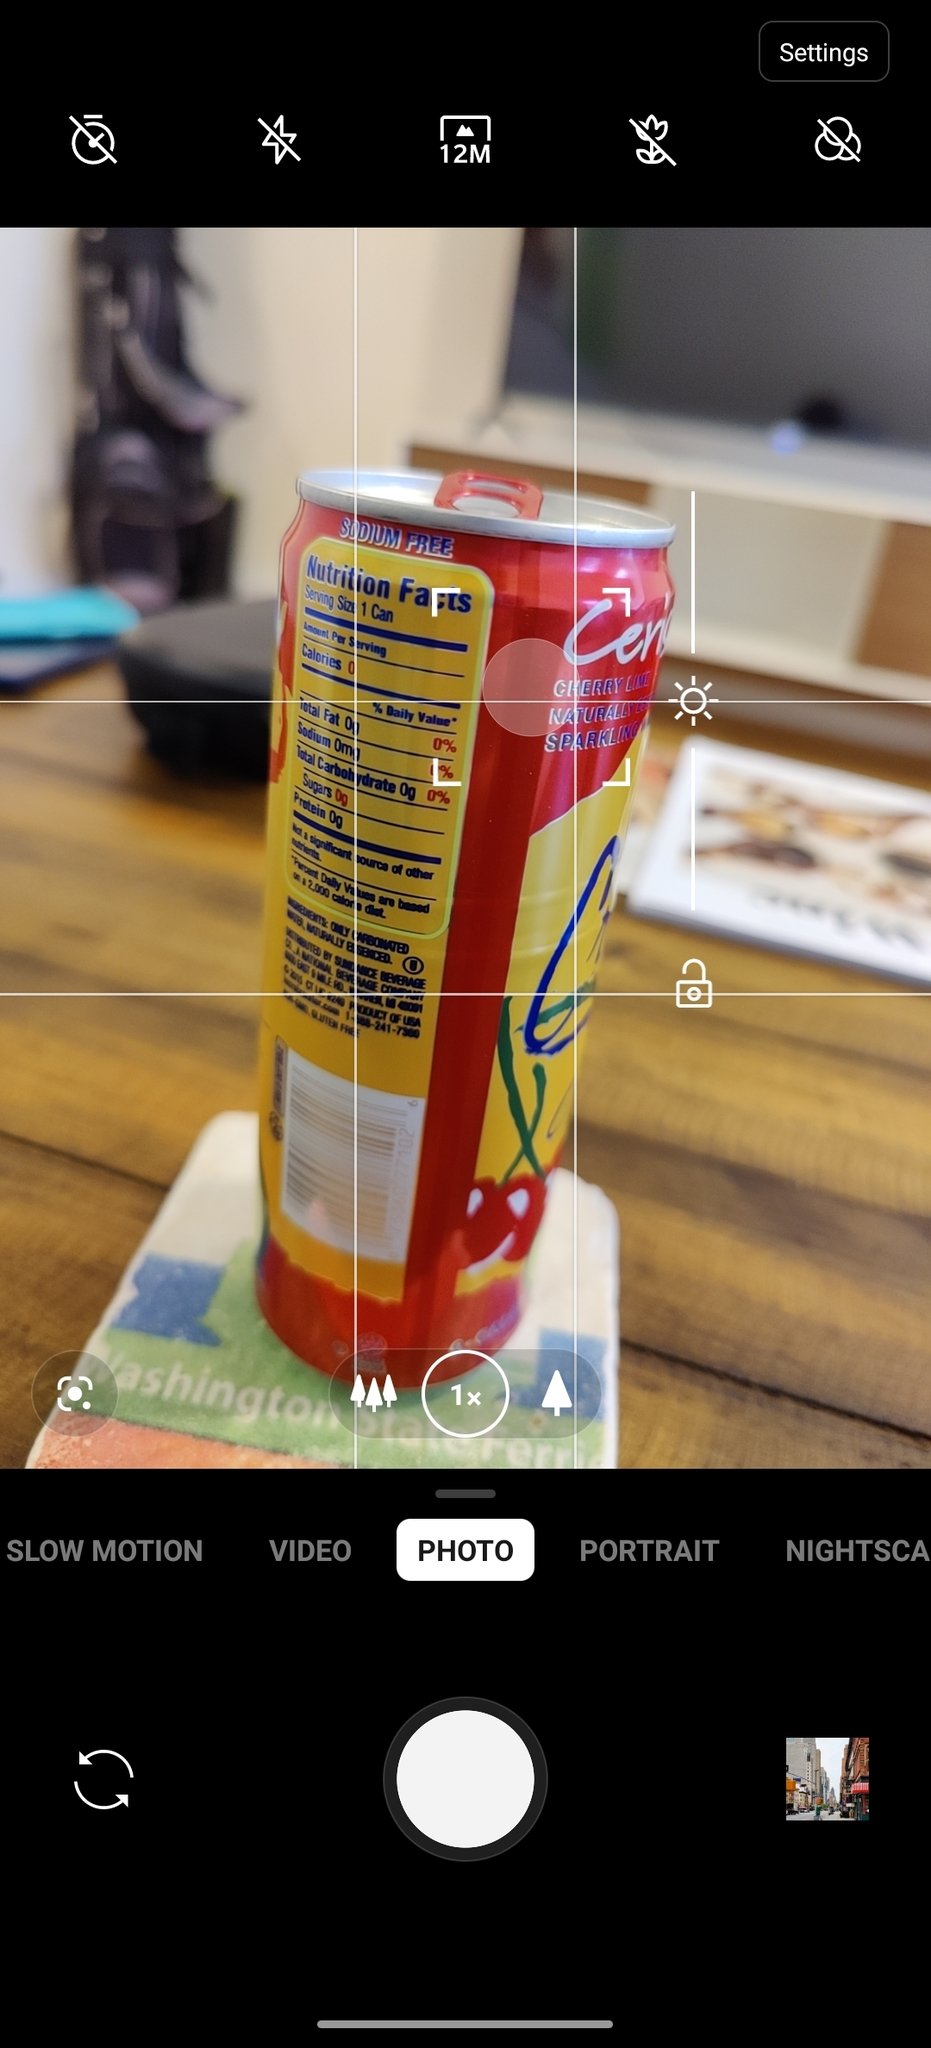
Everyone gets access to the same hardware and software, but it's how you configure it all that can make the biggest difference in final photo quality. A dead-simple trick for composing better photos is to turn on grid lines in the viewfinder. Go to the settings and look for "grid" — you'll see three different options.
The 3-by-3 grid is the simplest and least distracting, and my personal favorite. To get more technical you can choose 4-by-4 or golden ratio, which both accomplish similar things but are visually a bit more busy. If you've never used grid lines before, they'll immediately seem distracting, but trust me, it doesn't take long for them to transition to just a subtle reminder of how to frame a photo.
No matter which you choose, these grid lines will do two very important things: help you establish a flat horizon, and help you frame a scene proportionately so it's pleasing to the eye. You'll instantly cut down on how much editing you need to do cropping and straightening photos, and over time notice that you're taking fundamentally better-looking shots just by setting up the scene to flow into these grid lines.
Use burst mode to capture movement
99 frames gives you a lot of ammunition to get a sharp shot.
Whenever you're on the move or your subject is, the best chance you have at getting a sharp photo is to use burst mode. Burst mode is simple to trigger: just press and hold the shutter button, and it'll capture as long as you hold — up to 99 photos. In the gallery (or Google Photos, if you choose) the photos will be grouped together as a "burst" series rather than listed individually, letting you quickly scroll through the frames as one set and pick the shots that are sharp.
In burst mode you aren't going to get advanced HDR or multi-frame processing on each photo, but chances are if there's enough movement to require burst mode you'd rather increase your chances of getting a sharp shot than worry about HDR processing on a blurry frame. And an extra tip here is to hold the shutter for longer than you think you should, just to make sure you get the frame you think you got — when shooting in a burst, there can be a delay that can cause you to stop capturing before you should. Remember, you can always delete unnecessary frames later.
Dive into Pro mode
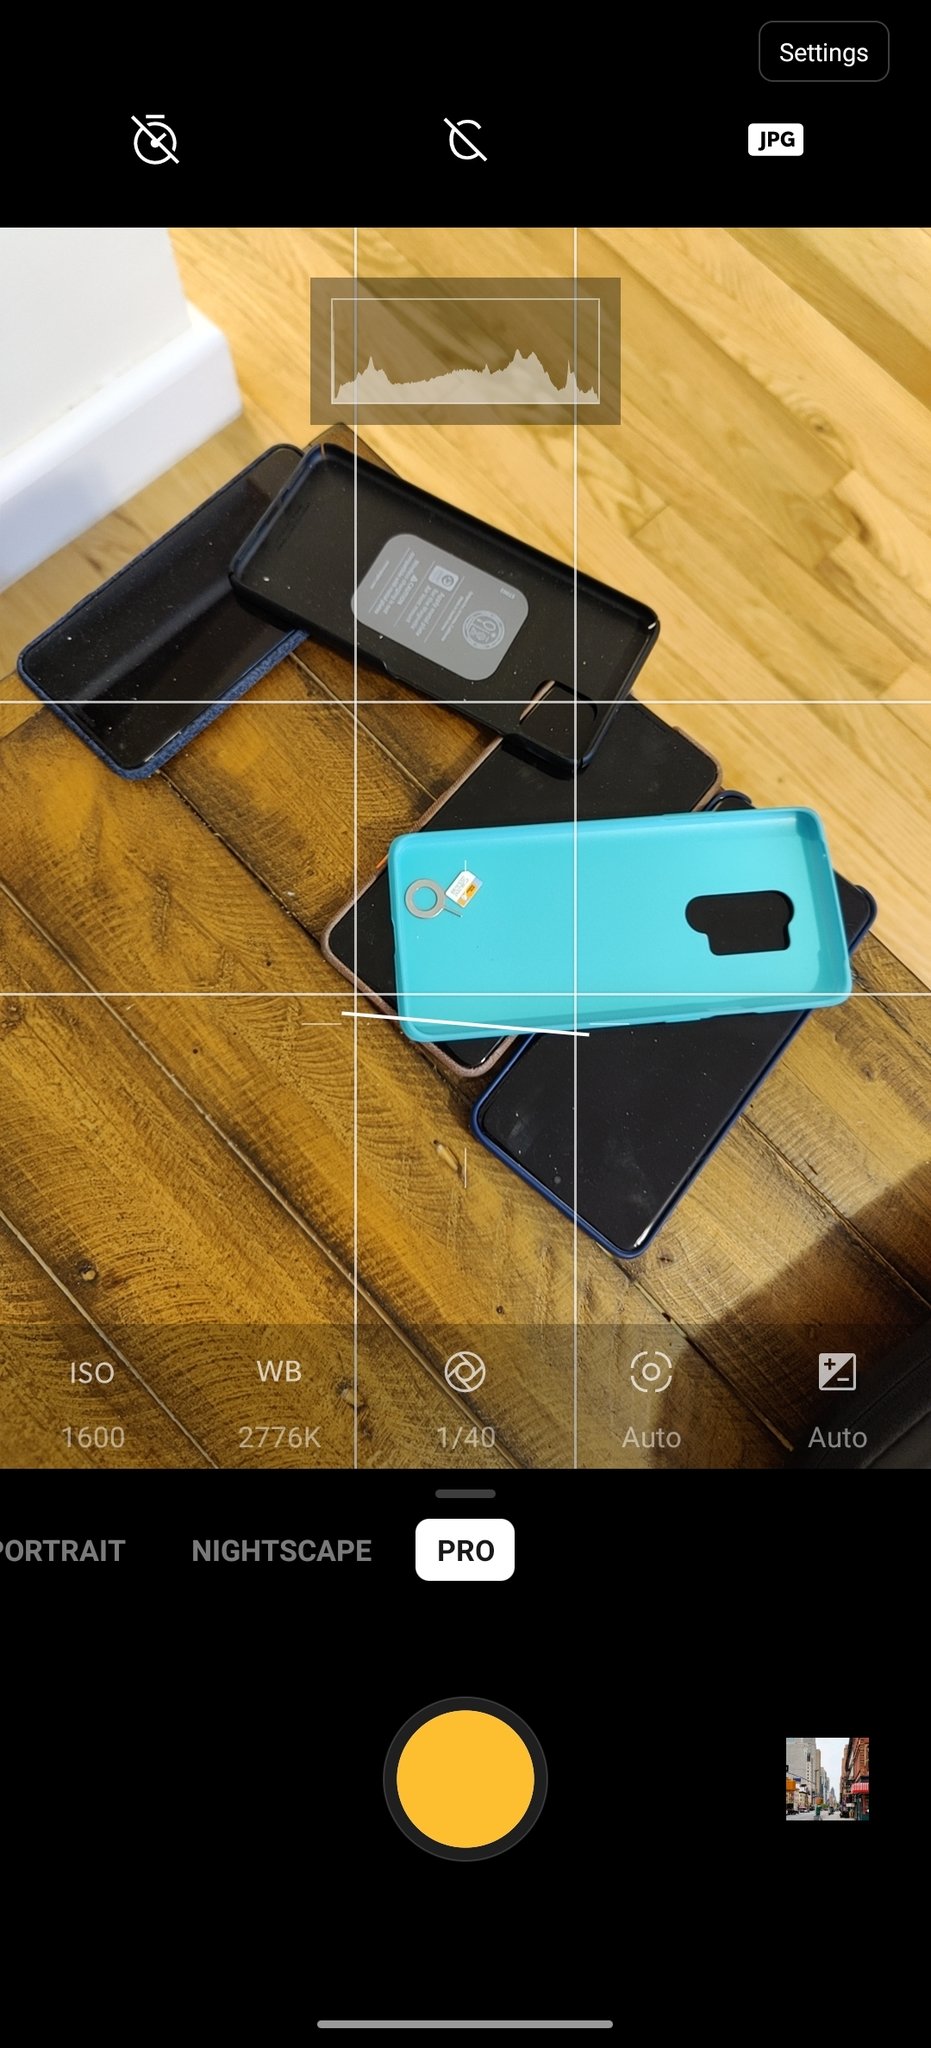
You can improve your photos a lot by using all of these tips and tricks when shooting in standard auto mode, but if you want to move up to the next level of photography you'll want to dabble in "Pro" mode. Obviously in order to make the most of Pro mode you need to have a general understanding of core photography principles, and this is also a great opportunity to take an online learning course to grow your photography skills.
Even with no prior knowledge, just opening up Pro mode and fiddling with the settings can be a great way to start learning. The great thing about Pro mode is that when you adjust the ISO, white balance, shutter speed, focal distance, and exposure, all of the other settings you didn't touch stay in an automatic mode. So you can tweak the brightness or the white balance, and still let the camera do the rest of the work automatically as you learn your way around.
When you find a specific combination of manual settings that lets you get a certain kind of shot, tap the "C" icon in the viewfinder to set those settings as a saved custom mode. You can have multiple custom modes, and quickly select them for later use.
If you want to go way down the pro side of things, you can also start shooting in RAW to edit your photos in an advanced photo editor later — either on your phone or computer. Just tap the "JPG" icon in the viewfinder and switch to RAW — just remember that these photos will require editing to look right for sharing and saving later.
Know when to use Nightscape
Every camera has some sort of "night" mode, and OnePlus offers Nightscape. Although unlike other night modes, for example Google's Night Sight, using Nightscape on the OnePlus 8 Pro isn't always the best choice in a dark scene. Nightscape is primarily focused on landscape photos, rather than portraits, close-ups or indoor scenes — and because of this, the processing it applies can sometimes be overbearing.
Nightscape photos aren't necessarily clearer or smoother than photos taken in auto mode, but they're certainly brighter overall — sometimes that's what you want, but many times it isn't. Auto mode actually does quite a good job at taking a photo in dark scenarios without creating excess grain or over-smoothening, and in many cases it looks more natural to the actual scene.
A great scenario to give Nightscape a try is if you really step up your game and use a tripod. In the camera settings, you can turn on "tripod long exposure" mode that lets the phone trigger extra-long captures when the phone is in Nightscape and detects it's stationary. You can also replicate this experience by just propping up the phone on something steady. Once again Nightscape may not give you the most accurate photo, but in this case it may give you quite a stunning shot.
Portrait mode may not always be best for portraits
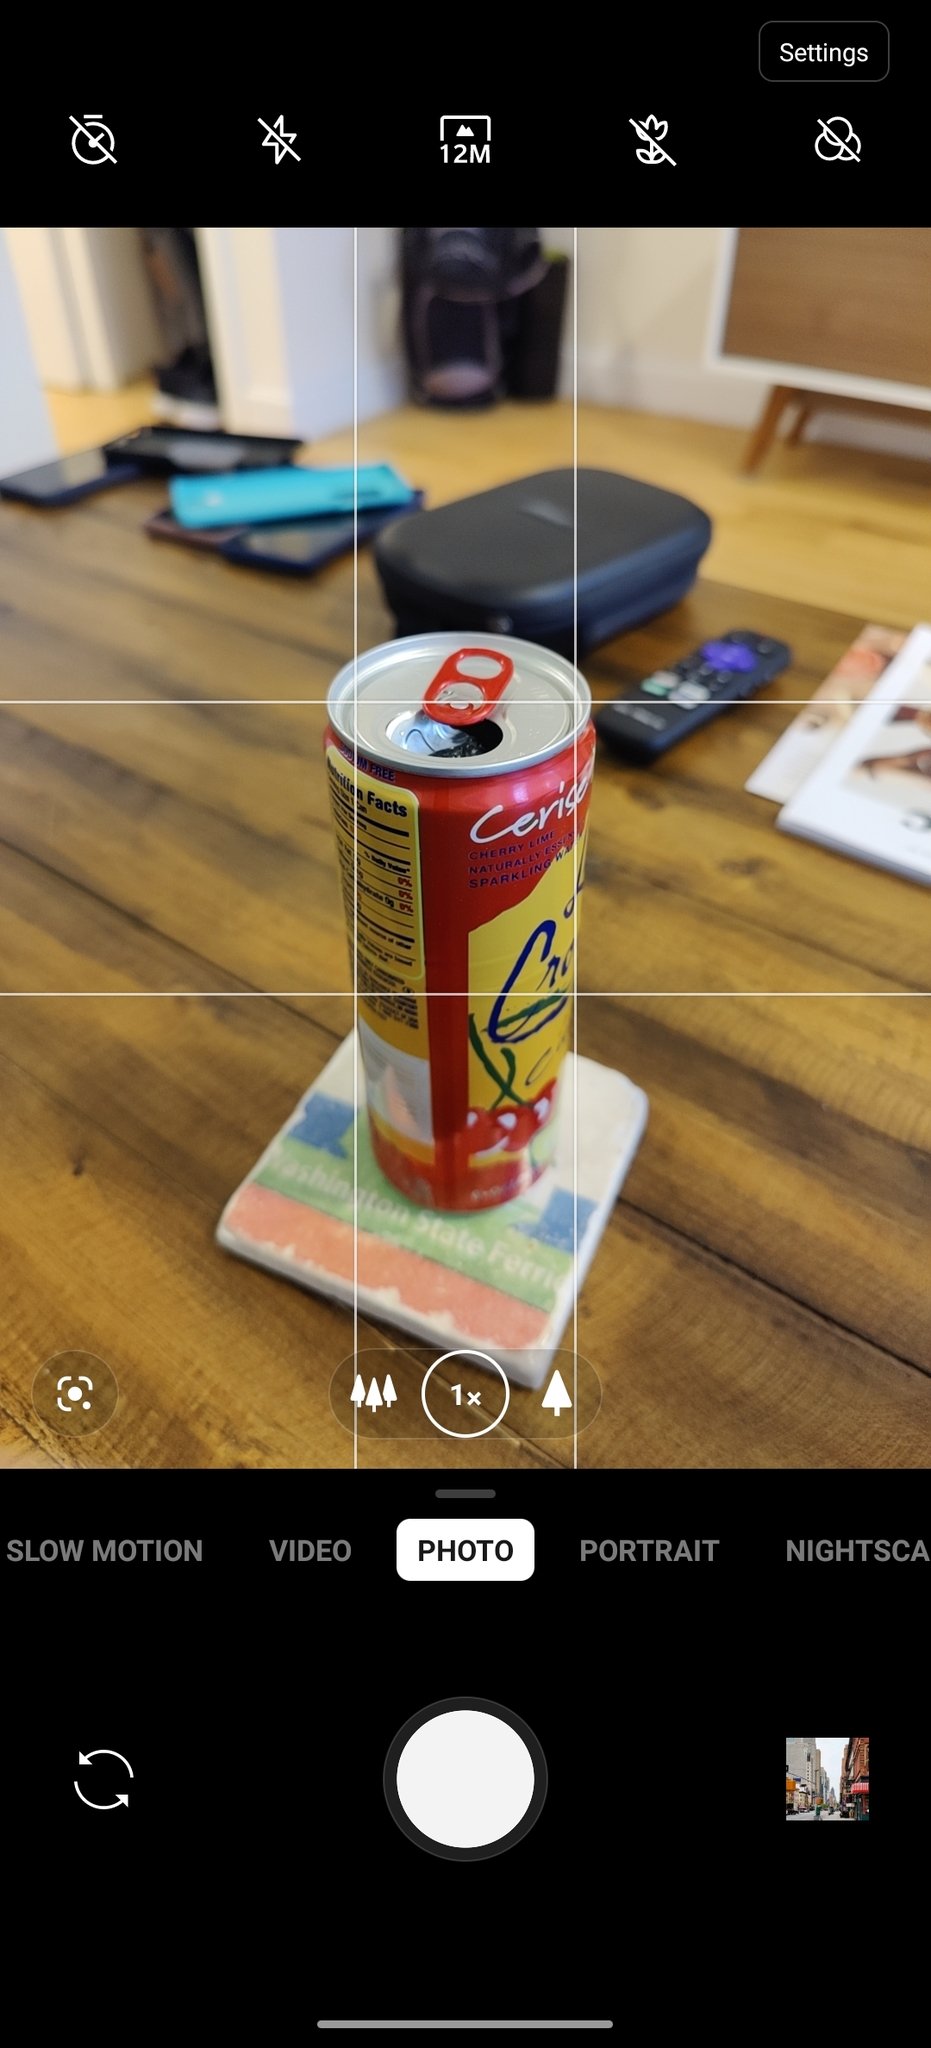
We're all familiar with "portrait" modes in smartphone cameras, artificially adding a background blur effect to make photos look like they were taken with a professional camera using a larger sensor and lens. However, when you go to take a portrait-style shot with your OnePlus 8, don't assume that the dedicated portrait mode is the only way to get that great background blur.
Because the main camera sensor is quite large, and has a wide aperture, it actually has really good natural background blur without any software assistance. It isn't nearly as pronounced as the portrait mode effect, but it also doesn't have any of the shortcomings of software-based blurring, like issues with hair, hats and glasses, or a pronounced fake look. It has all of the same fundamentals that make the professional cameras produce great background blur, just on a smaller scale.
When you're very close to your subject, consider shooting in auto mode and using tap-to-focus to get a very precise focal point for the most exaggerated background blur. You may be surprised by how good it can look even without any software processing. If you're further away from the subject, more than a few feet, the portrait mode will likely give you a better effect, as the natural blur of the main camera is diminished the further away you get.
Chances are you don't need the 48MP shooting mode
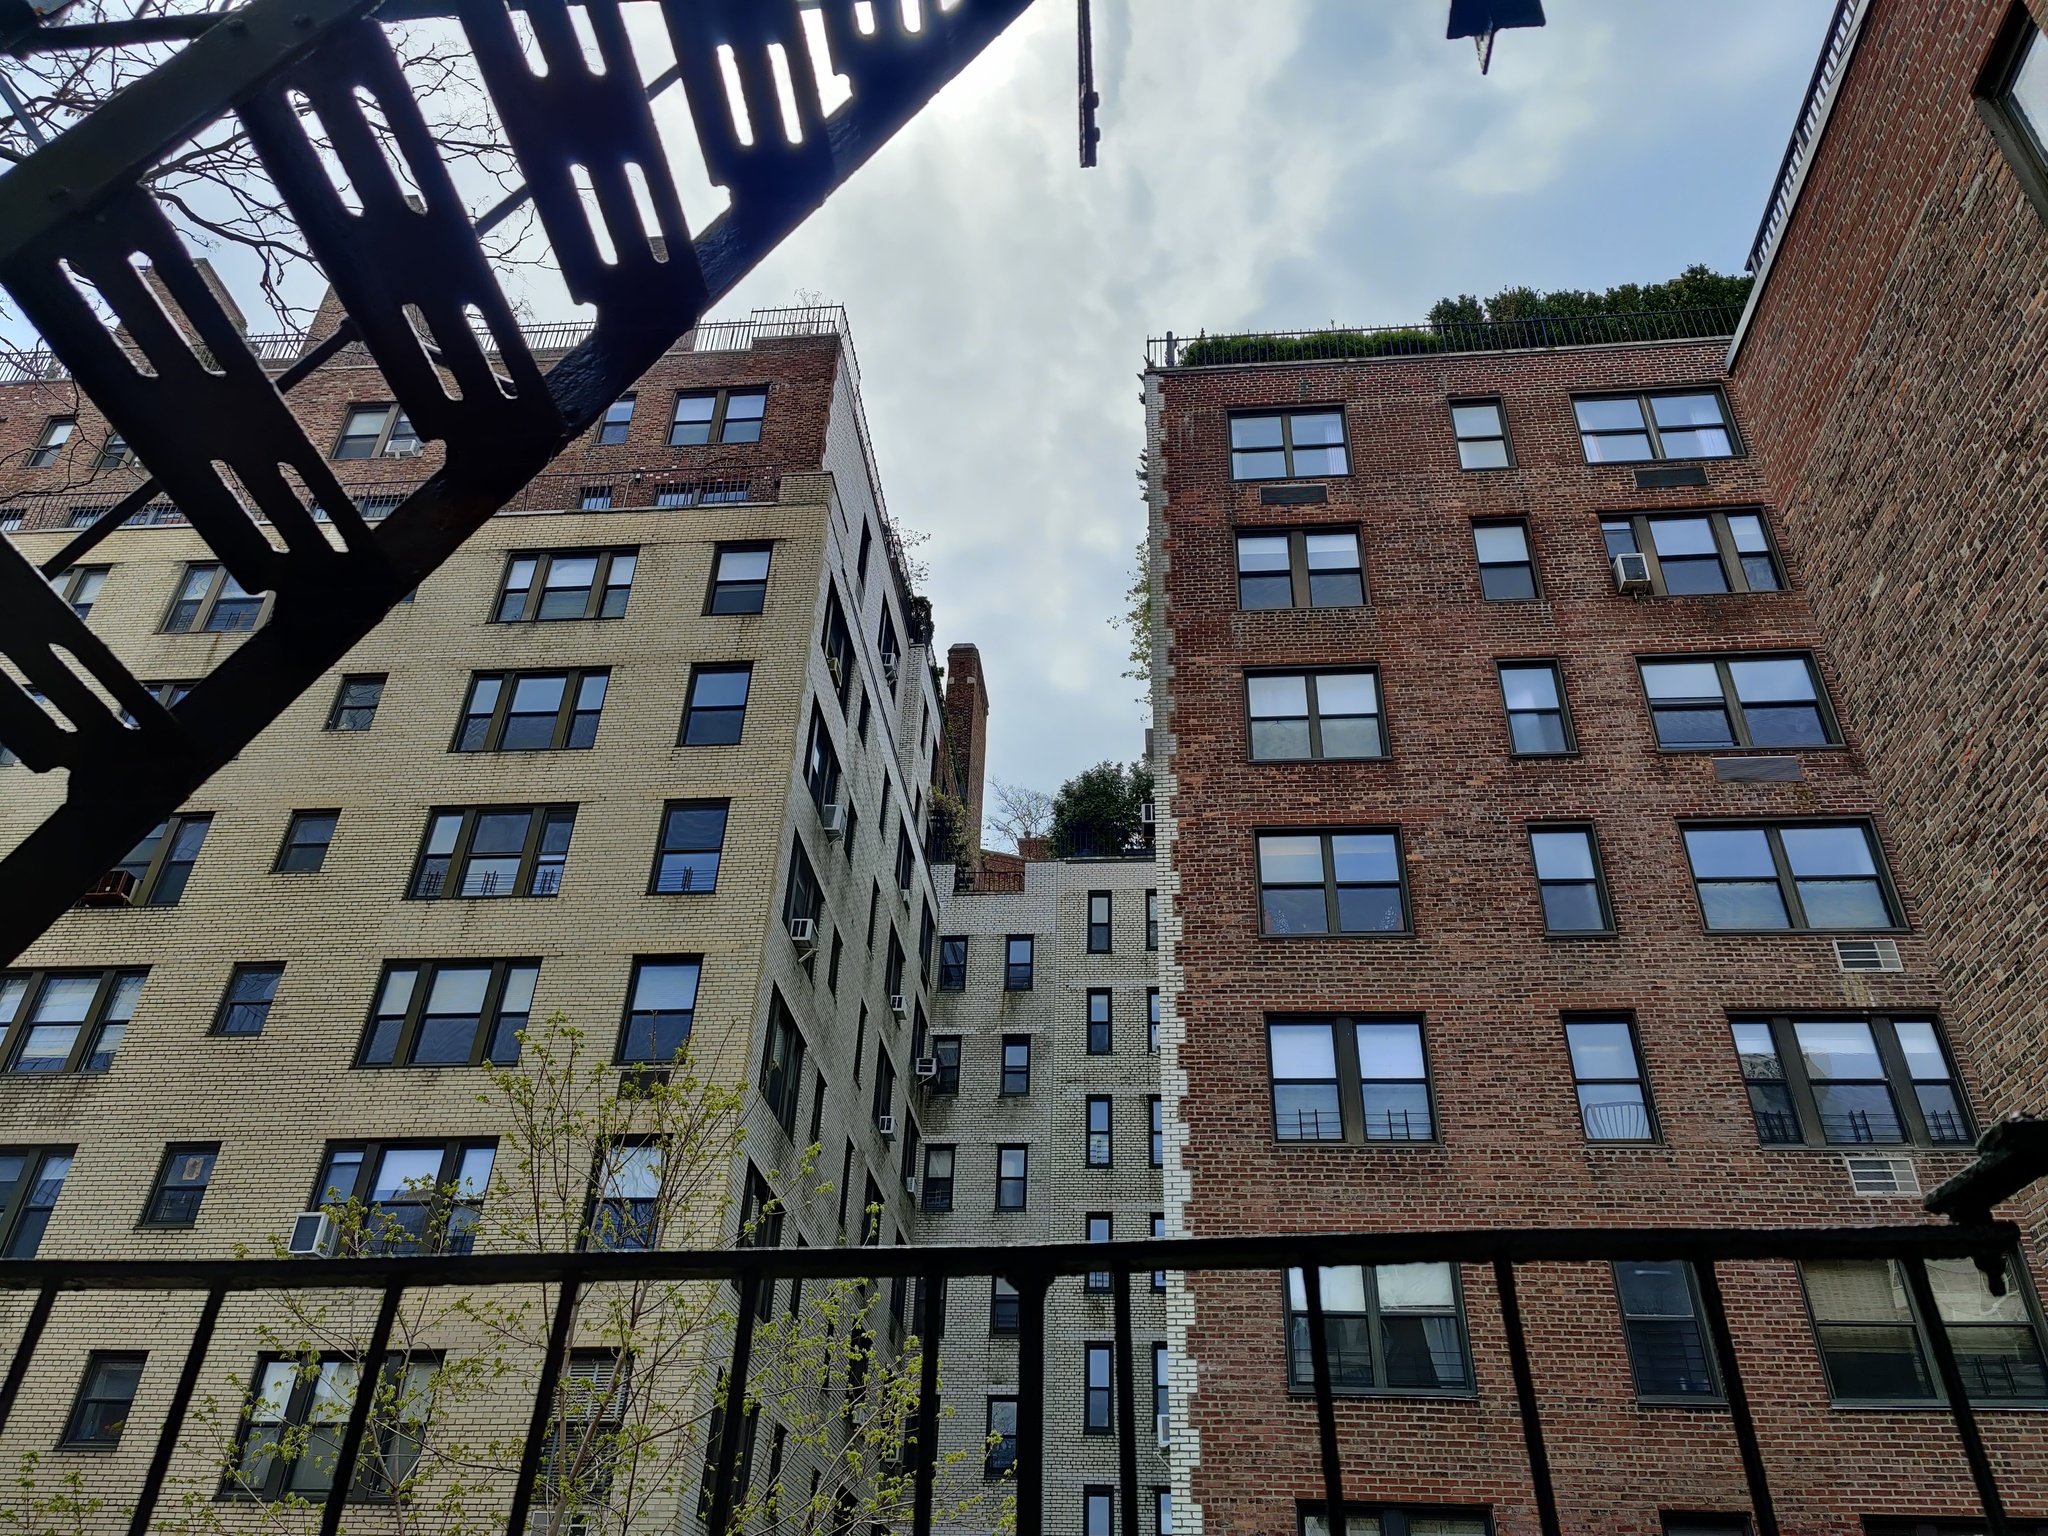
If you look at the OnePlus 8 Pro's spec sheet, you'll see that it uses 48MP sensors for both the primary and ultra-wide cameras — but when you go to take a photo, you get a 12MP resolution. That's because the sensors use what's called "binning" to combine adjacent pixels for better quality — with 4-to-1 binning, you're getting a larger effective pixel size, which gives you more light to process and better overall clarity.
Stick to 12MP and receive the benefits of 4-to-1 pixel binning.
Never the one to shy away from big numbers, though, OnePlus gives you a toggle to switch to a 48MP mode to get all of the available resolution. It seems enticing at first, because 48 is more than 12, but I wouldn't recommend it. By shooting at 48MP, you're using really small pixels, which can dramatically cut down on the available light for processing and actually give you a softer photo. It seems counterintuitive, but remember that the camera's software was specifically designed to use binning to take 12MP photos; the 48MP mode is the secondary shooting option.
If you're inclined to shoot at 48MP to try and capture as much resolution as possible for a specific reason, only do so in very well-lit environments. In these cases, like outside in broad daylight, you aren't likely to need the binning to get enough light into the camera and the effects of the smaller pixels won't be noticed nearly as much.
Don't expect zoom to look as good as the main camera
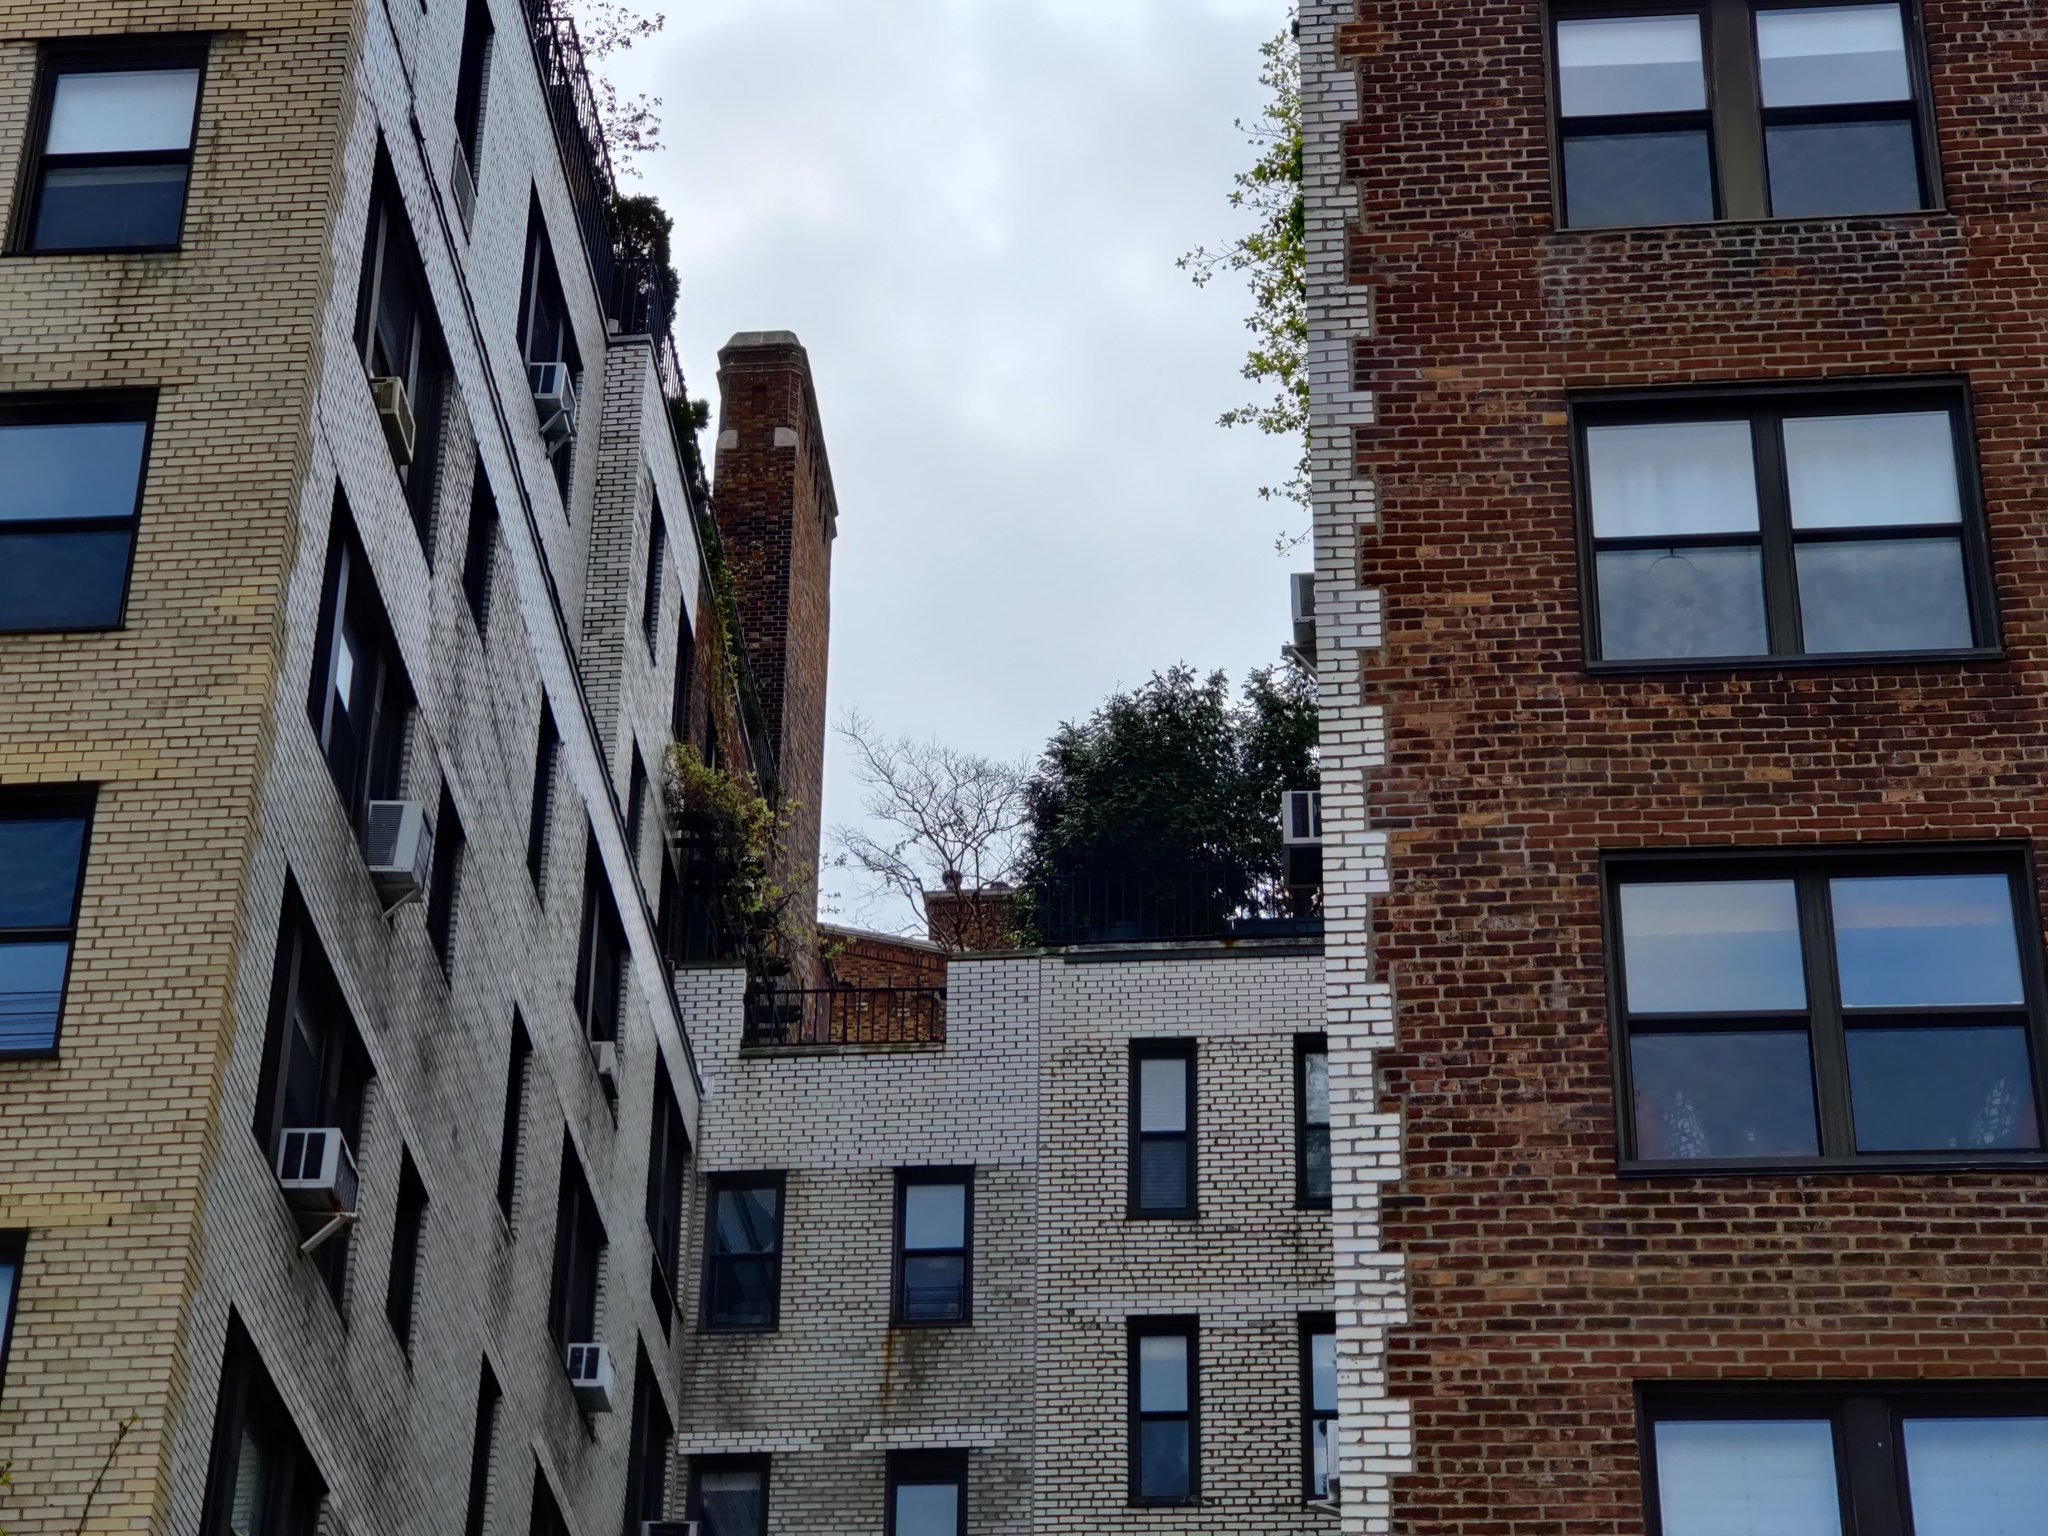
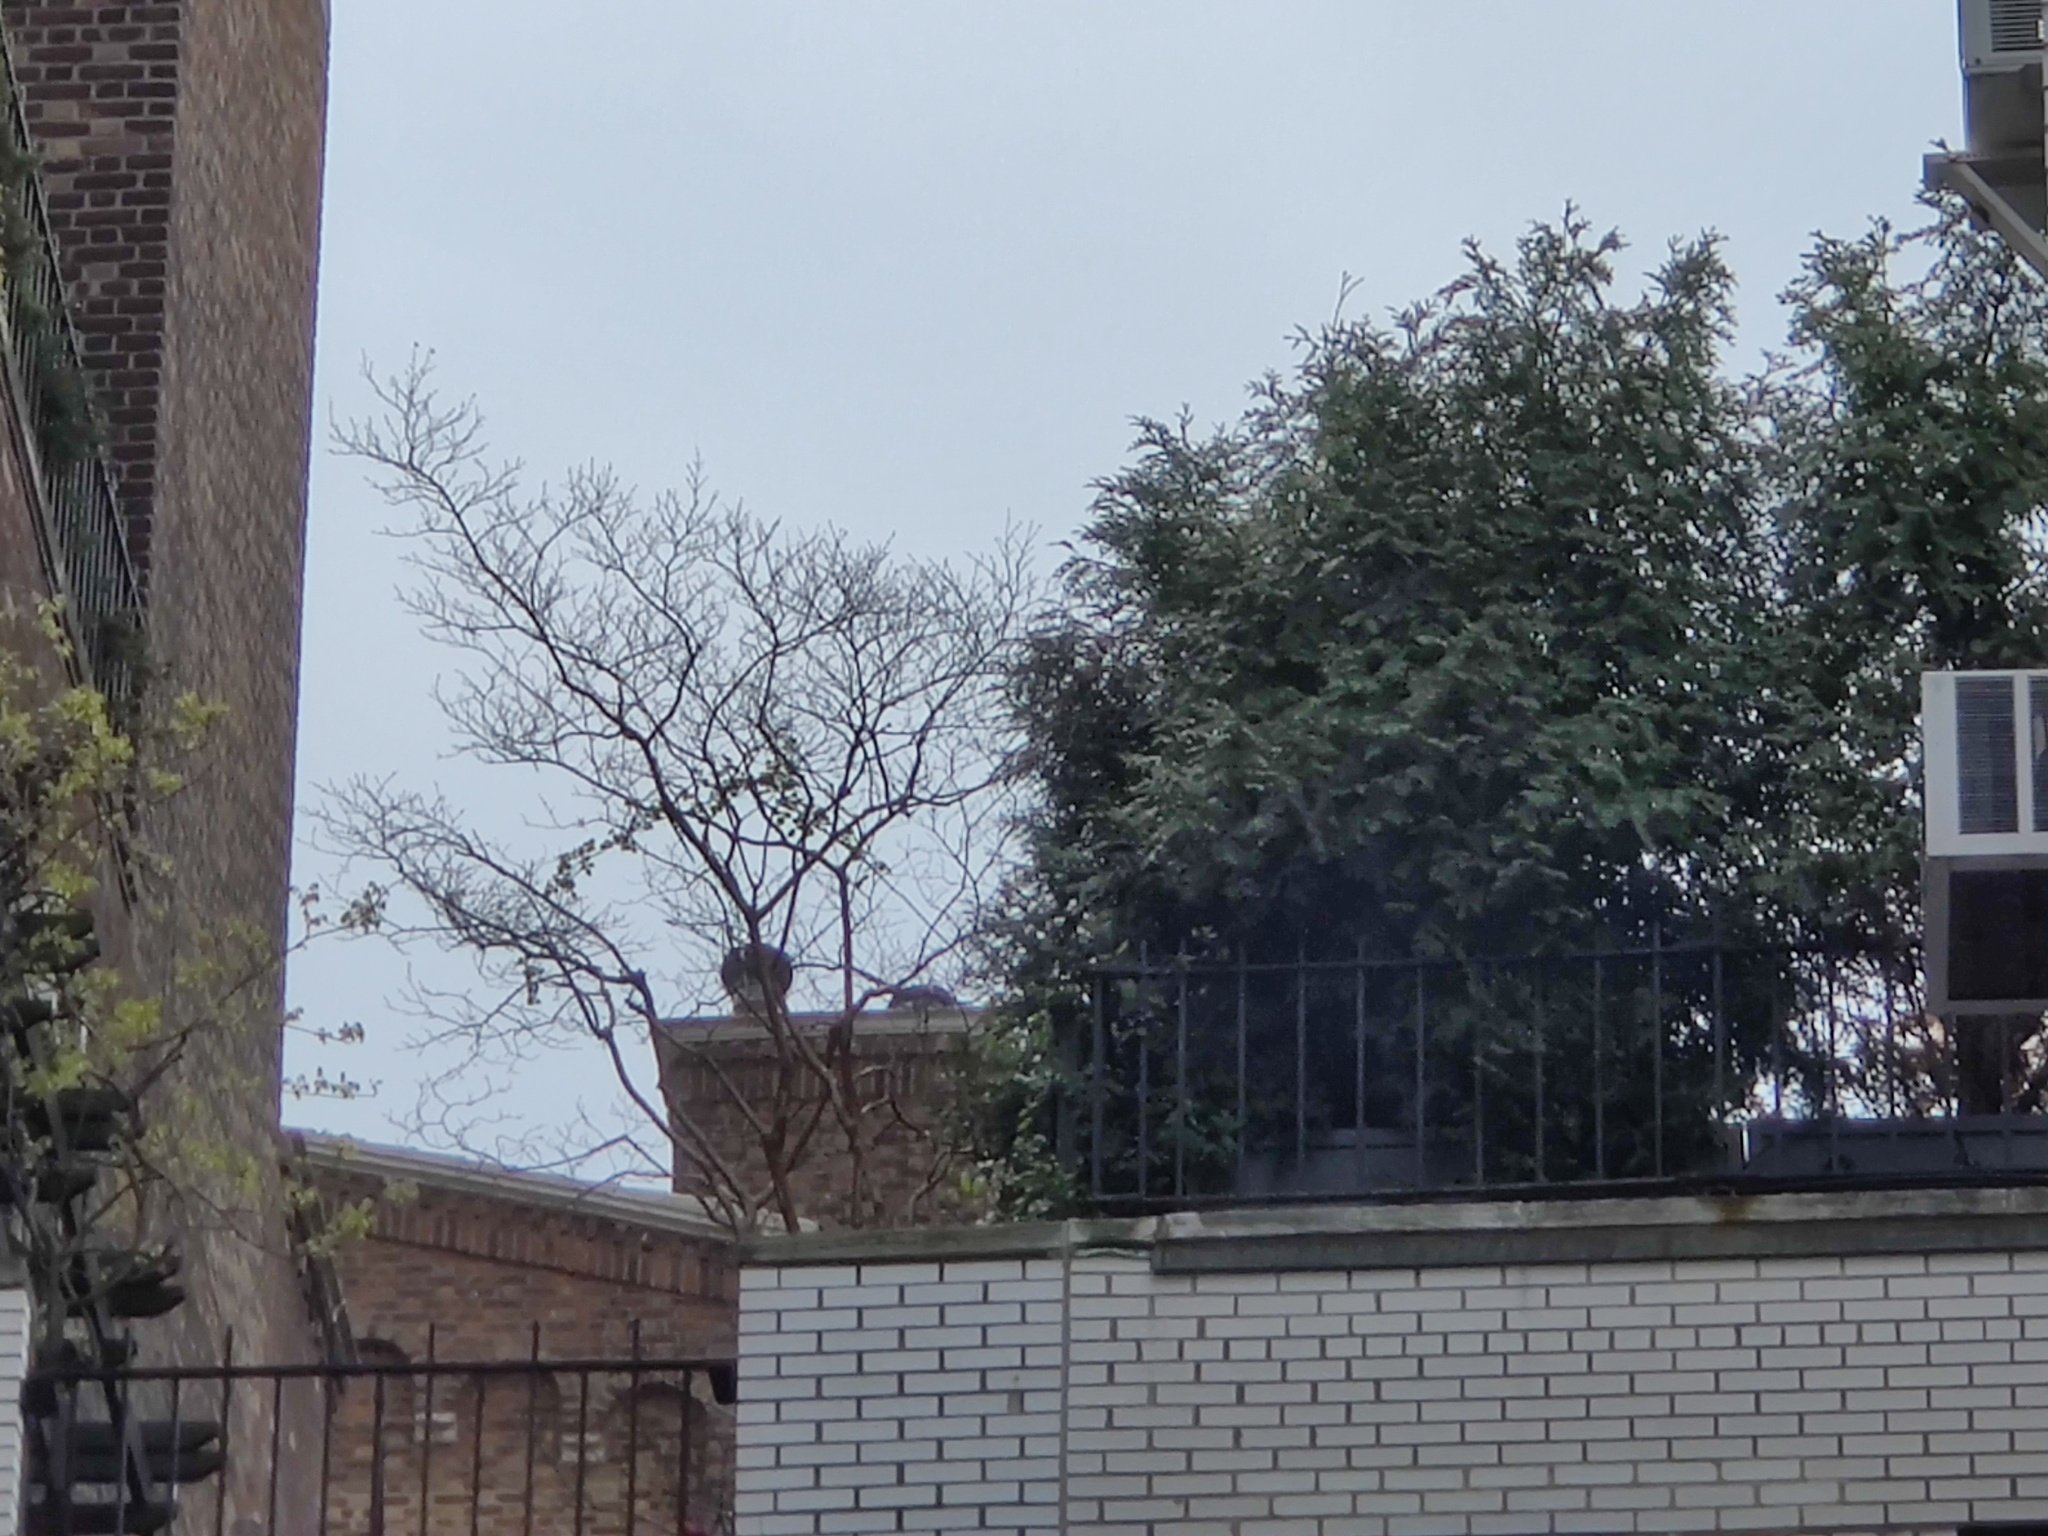
One of the new must-have features of high-end phones is long zoom capabilities. After years of having 2X telephoto lenses alongside primary cameras, the standard is now 3X (or sometimes 5X), with digital zoom — aka "hybrid" zoom — well beyond that. The OnePlus 8 Pro advertises 3X "lossless" zoom, and lets you zoom all the way to 30X — but before you get too excited, let me temper your expectations. Our OnePlus 8 Pro review lays it out bluntly:
"[Zoom] continues to be OnePlus's Achilles' Heel, and it's a real disappointment. It's the exact same sensor/lens combo as on the 7 Pro, which takes a 12MP shot and crops it to 8MP for a "lossless" 3x zoom, but photos are often poorly exposed, lifeless, and lack fine detail."
OnePlus made big improvements with a new. main camera sensor, but it's using the same telephoto lens and sensor from last year's 7 Pro. This is to say it's not good, and looks even worse next to the new main sensor. Even shooting at just 3X, you're already getting into a digital crop on the sensor, down to 8MP, and the white balance, colors and detail are all subpar. Yes the interface lets you zoom to 30X, but honestly anything beyond 3X, or 5X in perfect conditions, isn't worth writing home about.
So, work within the constraints you have. Zooming is a great way to change the perspective of your photos and get a narrower field of view, but if the shot you're trying to get requires zooming beyond 5X, you should consider moving closer to the subject rather than continuing to slide that zoom dial in the viewfinder.
No strings attached
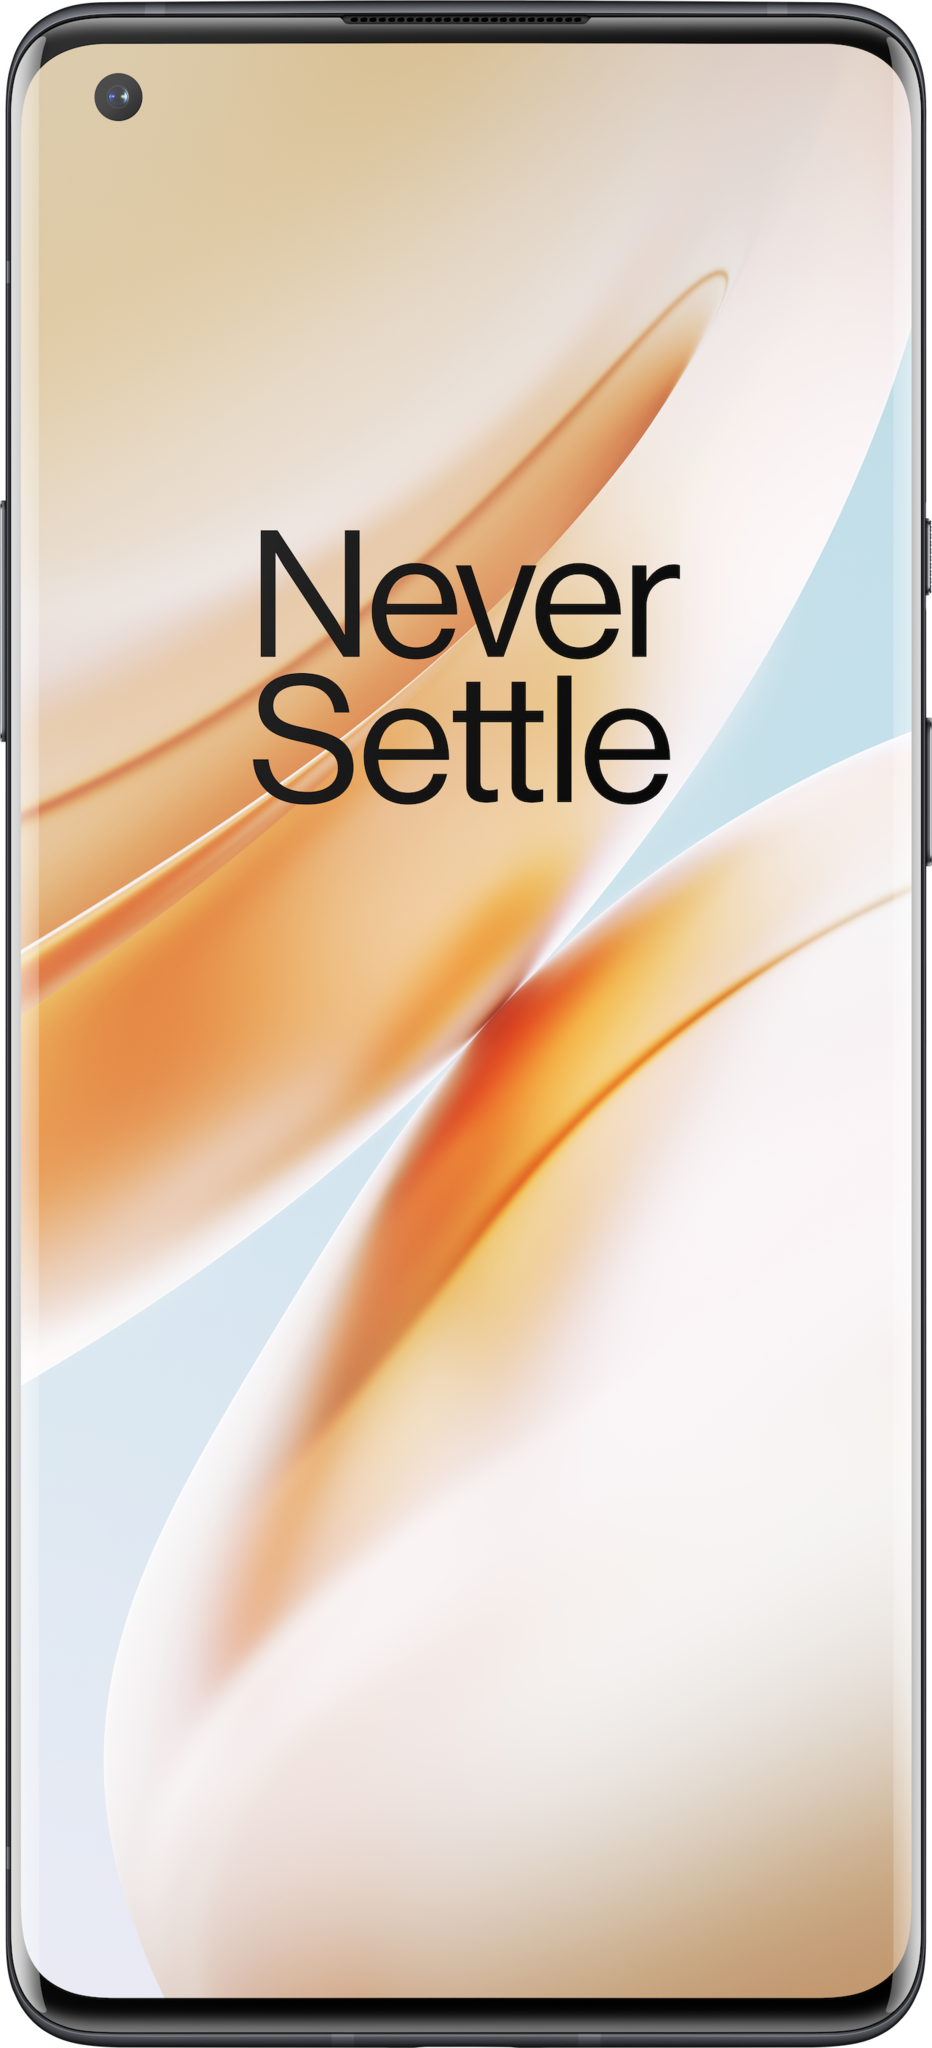
OnePlus 8 Pro
More expensive, and more capable.
The OnePlus 8 Pro brings the best camera system ever seen in a OnePlus phone. The main sensor steps up to a flagship level, and you can get great shots in all conditions.
Stabilized shooting
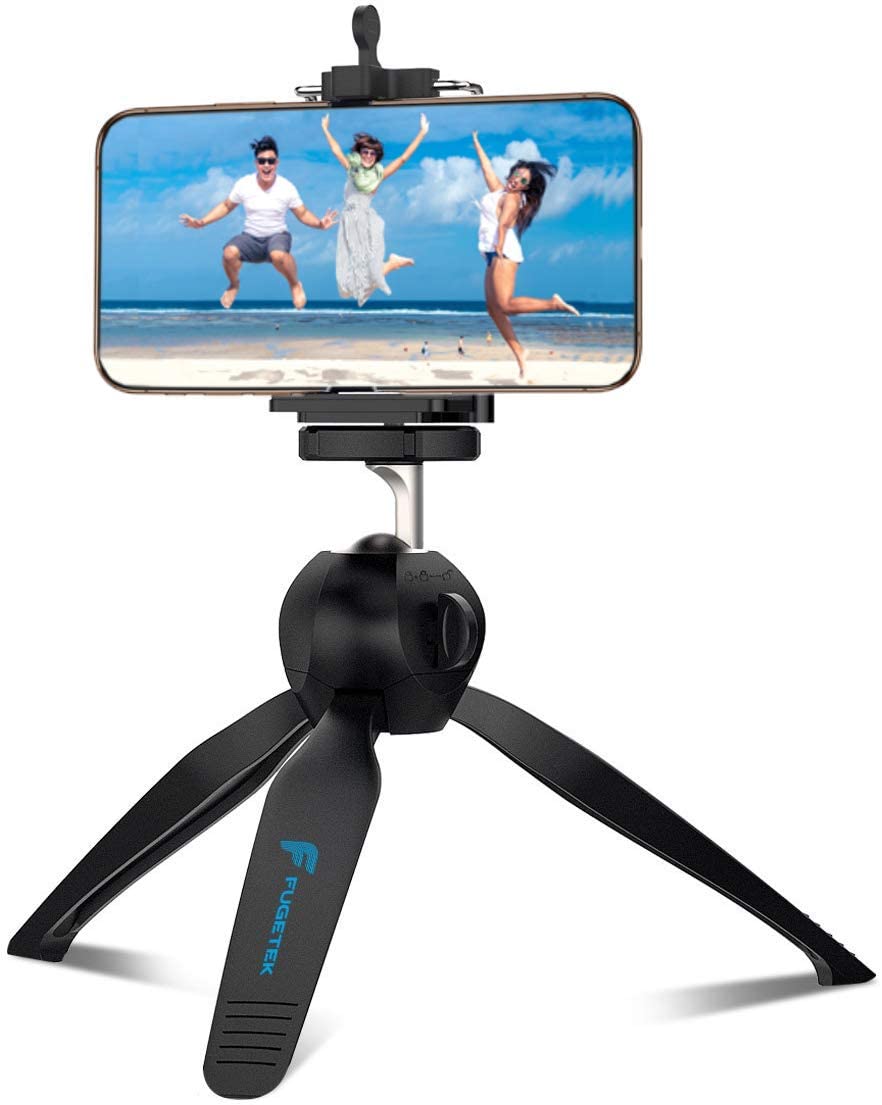
Fugetek Mini Tripod
Stabilize your phone for better night shots
If you want to take any sort of photography seriously, you get a tripod. For just a little money, you can take long exposures and night shots to the next level.
Up your skills
Smartphone Photography e-course
You are the most important factor in your photos
None of the tools at your disposal are worth much if you don't know how to use them. Improving your own photography skills with a learning course can be more important than anything else.
from Android Central - Android Forums, News, Reviews, Help and Android Wallpapers https://ift.tt/359NdSM




Post a Comment